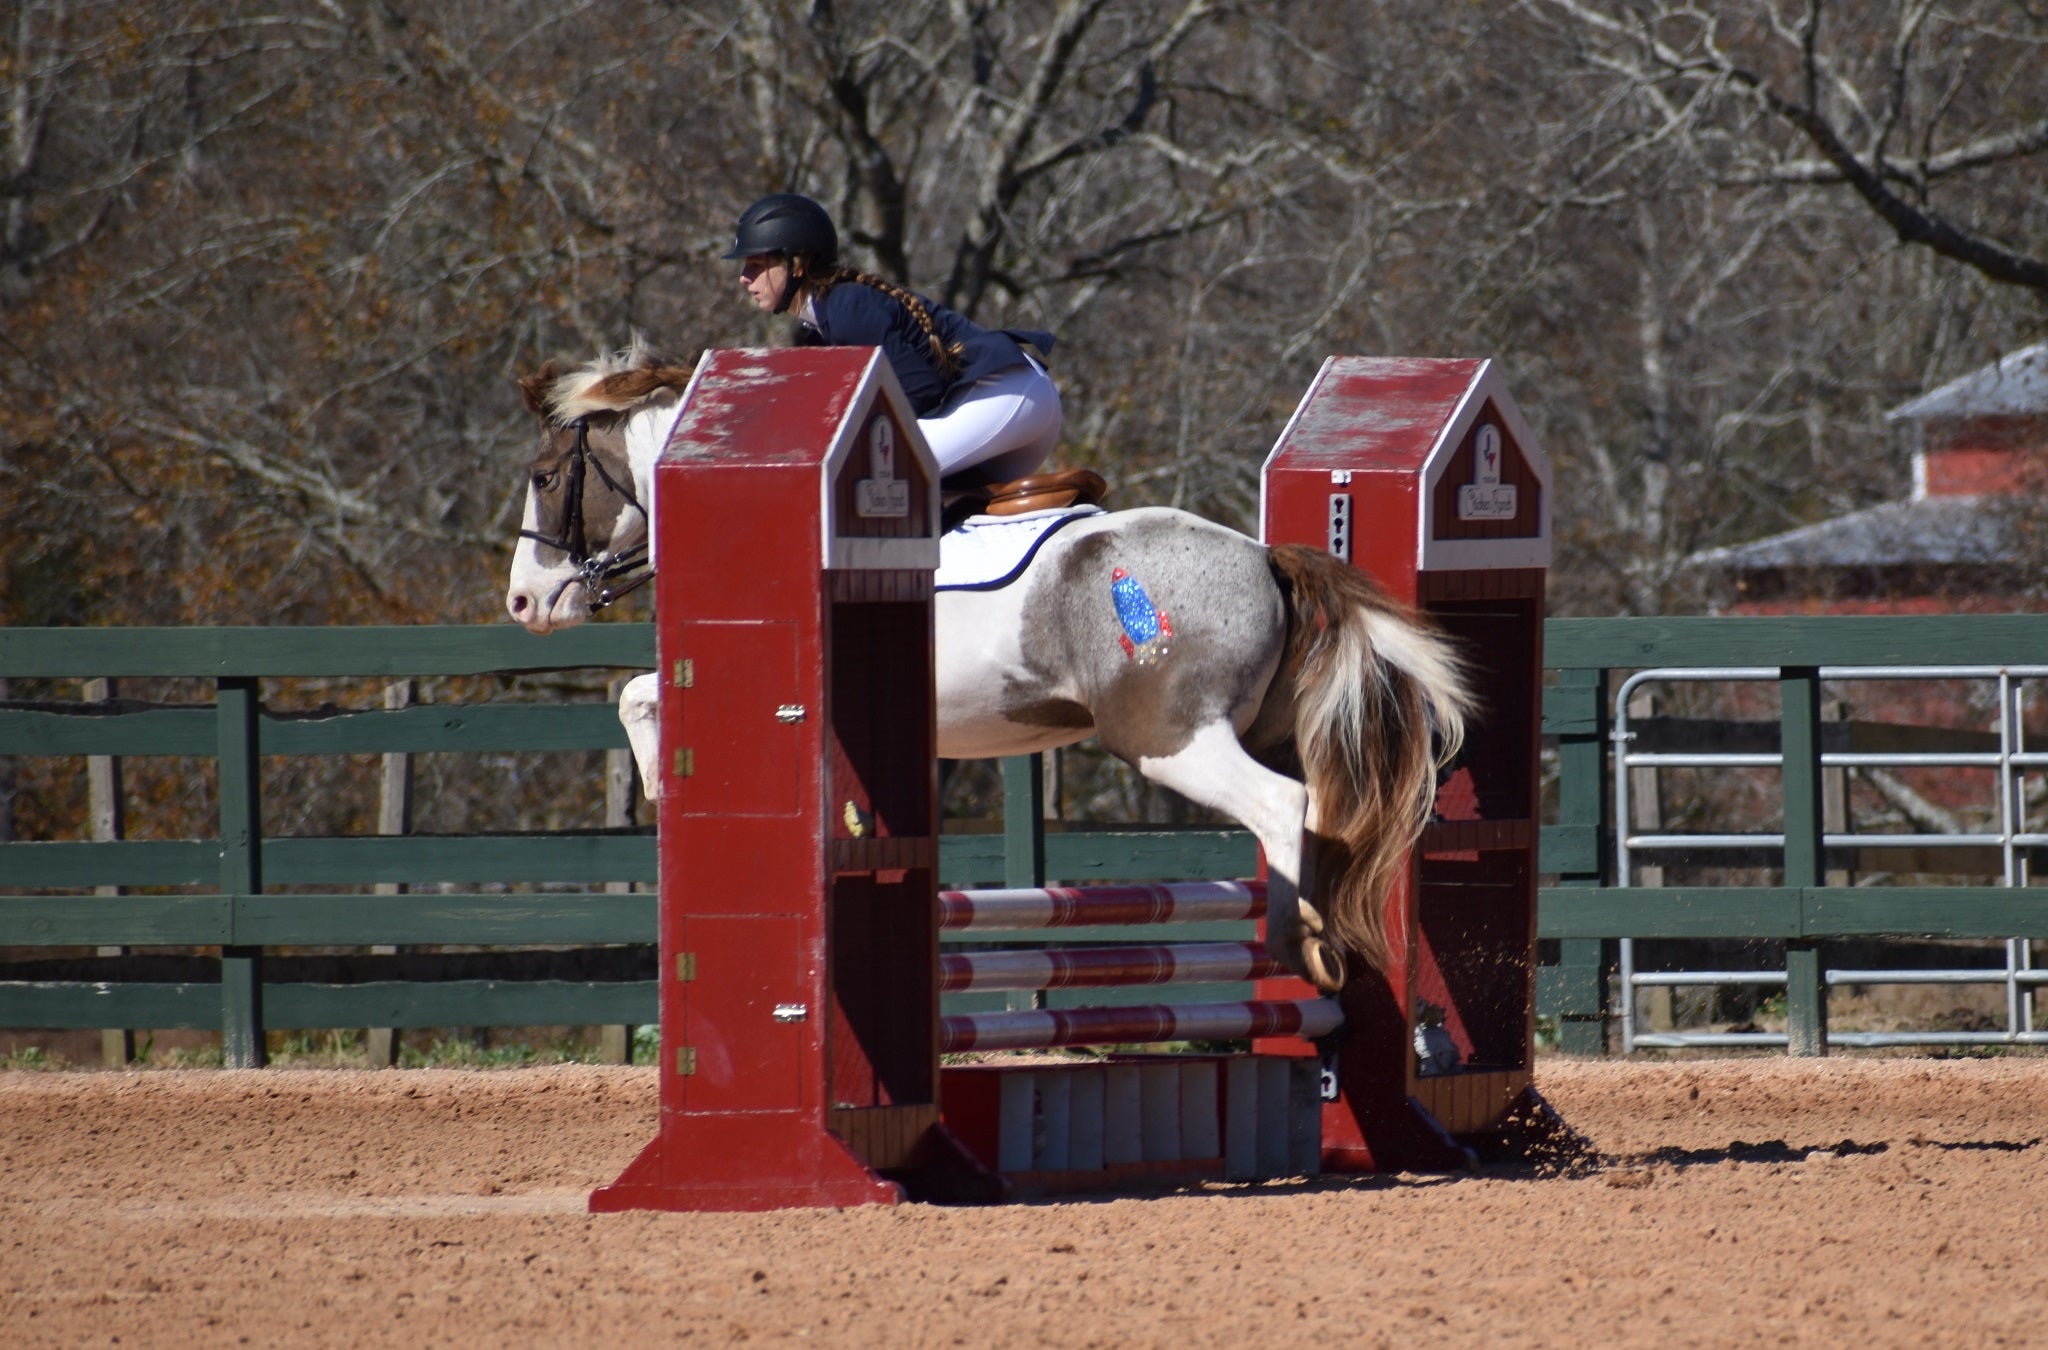
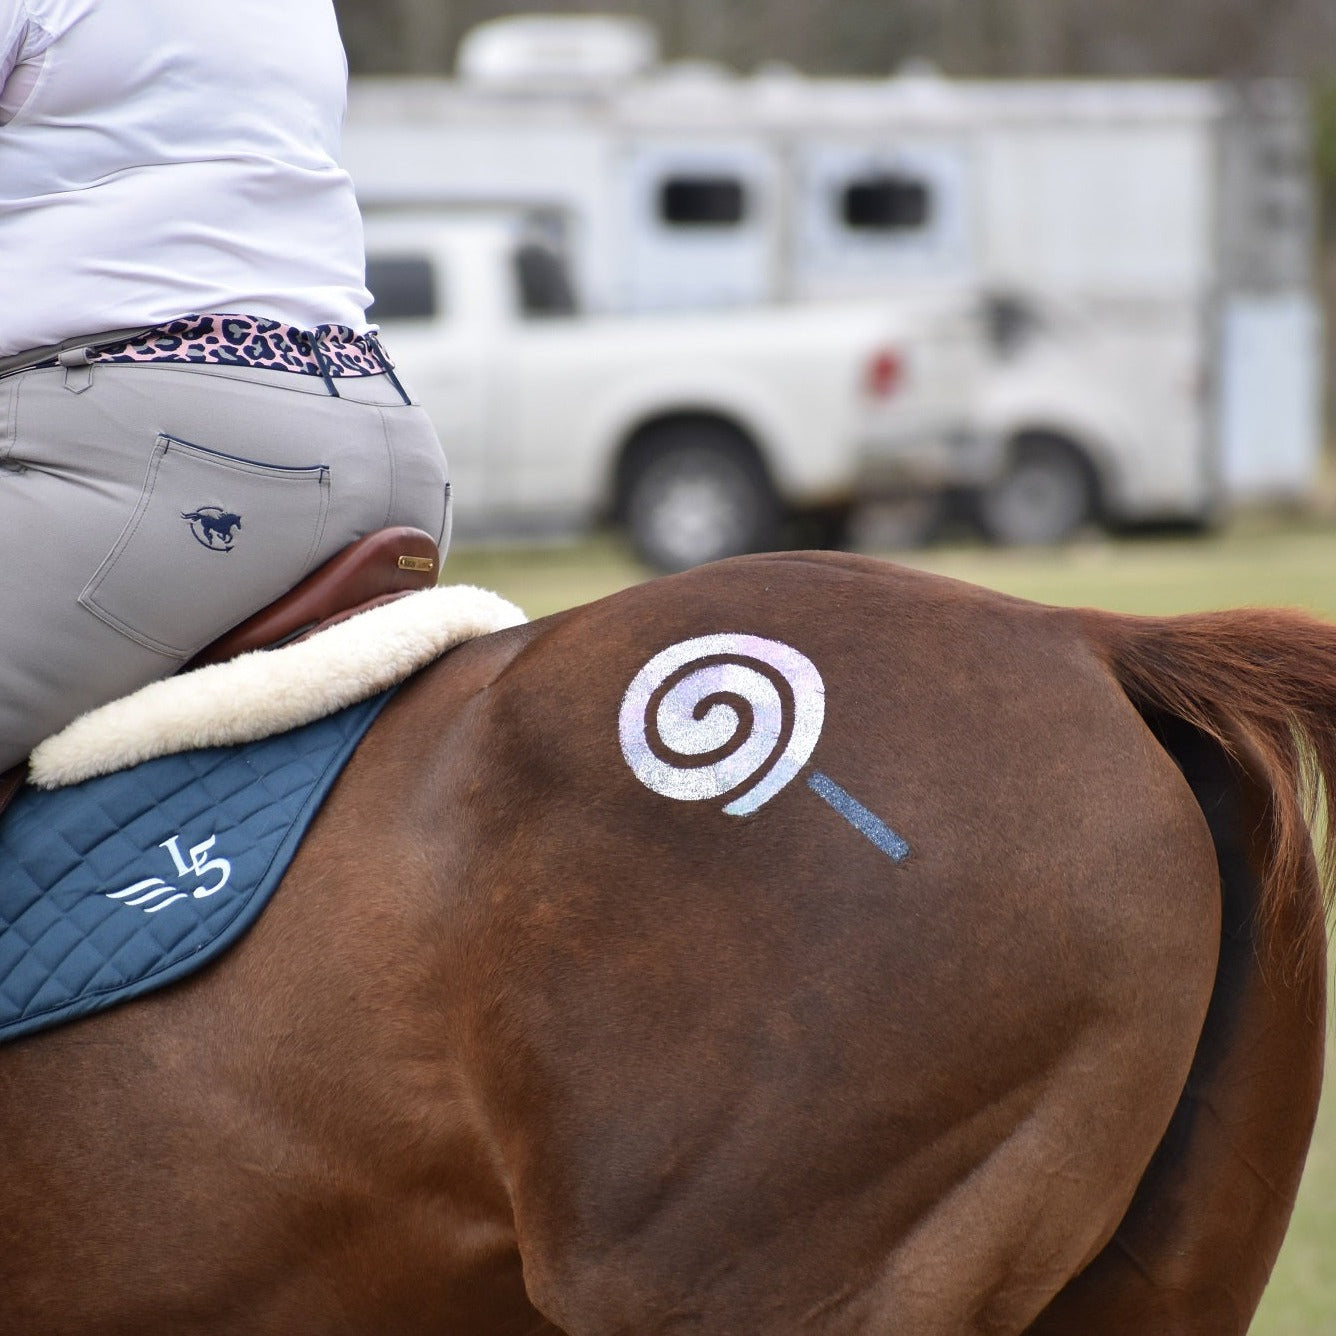

How It Works
Our Glittermarx Kits are an all-inclusive kit that utilizes a 4-step process to create dazzling super-sharp glittered designs. They are an easy way to really add some fun and sparkle to any equine activity.
A little bit of prep work will ensure a better outcome. First groom your application area well. The less loose hair the better the design will adhere. A good curry and firm brushing usually does the trick (of course no obvious dirt, shavings, manure or mud, but who would put glitter on that anyway...)
DO NOT APPLY ANY PRODUCT TO APPLICATION AREA!!
Not matter how much you want your pony to look its best for the Glittermarx, resist the urge to apply Showsheen, Vetrolin Shine, flyspray, Avon Skin So Soft, etc to this area. It will 100% prevent your design stencil from adhering, rendering your kit useless and will 100% result in the production of tears of sadness from lack of glitter.
Step 1: Apply the Design Stencil
Each design is a 3 layer stencil: 1) white backing layer 2) Glittermarx black design layer and 3) clear transfer layer. Start by peeling the white backing from the Glittermarx stencil. Place the Glittermarx stencil on the horse’s hip and press firmly into place. Smooth the stencil with your hand in the direction of the hair growth. Peel the top clear layer away from the Glittermarx stencil. Slowly remove in the direction of the growth of hair. Take your time and make sure all of the pieces come off the clear layer, leaving a complete Glittermarx stencil. Press the black stencil firmly into place to ensure the Glittermarx stencil is adhered to the hair in all areas.
Step 2: Apply the Adhesive
Apply the white adhesive with the black brush taking care to brush with the hair. Apply liberally. A uniform application of the liberally applied adhesive will improve the adherence and coverage of the glitter.
Step 3: Apply the Joy (or, um... Glitter)
Use the round dabber brush to apply the glitter, large size for big areas, smaller sizes for more detailed areas. Apply liberally, as in a lot. The glitter can be layered and blended to create the desired look. The heavier the application of glitter the more striking your Glittermarx will appear.
(Please note that you will have more than enough product for all 4 stencils so glitter away!!!)
Step 4: Remove the Glittermarx Design Stencil
Slowly peel the black stencil design in the direction of the hair and watch the magic unfold. This is where you may want to reach for the tweezers. Try to avoid using your grubby (and now glittery) fingers, they may smudge your fantastic design. Allow the area to dry completely, this usually takes about 5 minutes.
Step 5: Getting Rid of the Glittermarx
Use our Glitter-Gone brush for easy removal. You can also use water and a stiff brush or curry, soap is not needed. In a cold weather pinch currying vigorously and a damp cloth will remove 99% of your Glittermarx.
Refer to our YouTube page for "How To" and "Tips and Tricks" videos: glittermarxponies